Beaux R'eves

Showing posts with label dropcloth material. Show all posts

Tuesday, July 10, 2012

No Sew Outdoor Curtains


Good Morning!  
I'm wrapping up my patio space this week.  Just in time too, as my dear baby sister is coming to visit on Friday.  I have the extreme pleasure of keeping my beautiful niece for a whole MONTH!  I can't wait!  She and Miss Beaux act just like sisters (without the fighting).  I love watching them together. 

Pottery Barn
 If you have been following along I started with the patio furniture, staining the concrete and creating the "Hobo" bed.  (yes the name has stuck!)  When I began this project I had visions of curtains softly blowing in the breeze allowing for some privacy and adding some softness to the space.  Hmmmm, then the sticker shock set in!  Have you priced outdoor curtains?  WOW!  Anywhere from $50-$100 per panel.  Times that by 8 and you are talking expensive!  There had to be another solution. 


 I thought about sewing curtains but after all the work we put into the patio I just ran out of gas. 
Mr. Beaux came home from work one day and sat on the sofa.  He looked at me very seriously and said "I want to talk to you about something."  Uh Oh  "I was thinking about this at work all day"  Um, OK  "What do you think about using plumbing pieces for the curtain rods?" 
 OH YOU DEAR MAN!!! 
What a stellar idea!!!
"We could use a Flange, and an Elbow and pipe for the rod."  I nodded my head and pretended to know what all of those things were.  We headed to Lowe's after dinner and cruised the aisles for what we needed.  We ended up using electrical conduit instead of pipe as it was more cost effective.  
He sent me to the paint section to pick up more spray paint.  
That's when it hit me!  
I could use 6X9 drop cloths for the curtains. 
 They were the perfect size and only $10.00 each! 
Mr. B hung up the rods with 
inexpensive curtain rings attached. 

I just clipped on the drop cloths and we were all set!  I washed the drop cloths first because I thought they were too stiff.  Also, we first purchased 4 -10 oz weight drop cloths and they were longer than the 8oz ones for some reason, so I just folded them over at the top.  I know they don't match right now but I got over it.  Life isn't perfect and maybe someday I will buy more so that they all match. 
Now I am going to show you a million pictures that I took.  Thanks for indulging me!
 Curtains closed!  
Yes, I see the seam on the cloth to the left...  I could have cropped it out but this is reality here...
Closed from the outside.  
Does it look like one of those VIP cabanas?  
Ha, Ha, where IS that pool boy?

Wouldn't it be so fun to have a party here?
Night time shot
With the flash...
I seriously can't wait to use it! 

Until Next Time,
Beaux R'eves
XO Cindy

I'm linking to Kim at Savvy Southern Style for Wow Us Wednesdays and Judy at DIY by Design
 Sherry at No Minimalist Here for the Open House Party on Thursdays
 Gina at The Shabby Creek Cottage for Transformation Thursdays

 From My Front Porch To Yours for Treasure Hunt Thursday
Poutpourri Friday at 2805

 Cindy at My Romantic Home for Show and Tell Friday
Courtney at French Country Cottage for Feathered Nest Friday
Heather and Vanessa at At the Picket Fence for Inspiration Friday
Diann at The Thrifty Groove for Thrifty Things Friday
Debra at Common Ground for Vintage Inspiration Friday
Sherry at The Charm of Home for Home Sweet Home Friday

Jen at Tatertots and Jello for the Weekend Wrap-up Party
Donna at Funky Junk Interiors for Saturday Nite Special

Five Days...5Ways

 Stone Gable~Tutorials,Tips,and Tidbits

Friday, March 30, 2012

Covering Books with Drop Cloth Fabric and Giveaway Winner

Yesterday I shared my Before and After
 of my Living Room Bookcases 
and gave you some tips on styling your bookcase. 
 You can see that post HERE.  
I wanted to show you a short tutorial on covering the books.  A few people asked me about how I covered them and to be honest, I tried a few methods and ended up with my own.
  I figured I would share my experience with you and if it makes your life easier then that makes my day!
Actually, a lot of thought went into the covering of the books.  I thought maybe white paper would be a good look
 but I didn't have any and it was raining outside.
  I'm kinda lazy and impatient and want immediate results...  Oh and did I mention CHEAP! 
 I remembered seeing beautiful fabric covered books
 at Nell Hills.
Sigh, see the exquisite Tartan covered books? 
 I would LOVE to do that but I'm too cheap.  
So I looked to see what fabric I might have on hand and happened to be in the middle of slip-covering my chair.  
See Here.
  I had a TON of dropcloth and I liked the color. 
 Perfect!
The easiest way to measure around the book is to use
 the Book Jacket, if it has one. 
 Just spread it ALL the way out 
and cut one inch around the top and bottom 
and to the ends of the book jacket.

Fold the top and bottom under the one inch and place the book on top to check your measurements.  Fold the sides over to create a pocket that you will slip the book into.  Again, check your measurements by putting the book on top and folding around to see if it is big enough. 
 You should make it a scosh too small 
because the fabric stretches. 
Glue under the pocket with a hot glue gun.
  Just a dab will do it.  
Make sure it is UNDER the pocket
 so you can still slip the book inside. 
 And that's it. 
 Slip your book inside and you are good to go!
I like the way they look loose and wrinkled.  It gives it some texture and makes it look less formal.  

Side note and funny family story:  Yesterday when I posted my bookcase styling tutorial my Sister posted on my Facebook wall asking me where I "got the idea to wrap up books".  I had to laugh because I knew that she was referring to when my little sister used to wrap up old Readers Digest books and give them proudly to us as gifts!  We all had a good laugh when everyone in my family weighed in on Facebook! 
Love you guys!
 
I hope this helps you.  Ask me if you still have questions!

The winner of the MyMemories giveaway is
Congrats! I will email you to give you the download info! 

Until Next Time,
Beaux R'eves
XO Cindy
Sharing at:
Newbie Party at Debbie Doo’s Blogging & Blabbing
Susan at Between Naps on the Porch for Metamorphosis Monday
Marty at
A Stroll Thru Life for Tabletop Tuesday
Roeshel  at DIY Showoff
Kristin at My Uncommon Slice of Suburbia for Tuesday's Treasures
Linda at
Coastal Charm for Nifty Thrifty Tuesday

Faded Charm for White Wednesday
Kim at
Savvy Southern Style for Wow Us Wednesdays
Judy at
DIY by Design for the Winter Blues Party
The Brambleberry Cottage
Gina at
The Shabby Creek Cottage for Transformation Thursdays
Sherry at
No Minimalist Here for the Open House Party on Thursdays
 From My Front Porch To Yours for Treasure Hunt Thursday
 Cindy at My Romantic Home for Show and Tell Friday
Courtney at
French Country Cottage for Feathered Nest Friday
Honey at
2805 for Potpourri Friday
Heather and Vanessa at
At the Picket Fence for Inspiration Friday
Diann at
The Thrifty Groove for Thrifty Things Friday
Debra at
Common Ground for Vintage Inspiration Friday
Sherry at
The Charm of Home for Home Sweet Home Friday
Jen at
Tatertots and Jello for the Weekend Wrap-up Party
Donna at
Funky Junk Interiors for Saturday Nite Special

The Tablescaper: Seasonal Sunday 
 Evolution of Style

Tuesday, March 20, 2012

Slipcovered Guest Room Chair

I really struggled with recovering this chair.  
Not because it was difficult, but because I procrastinated and waited until the last minute to dive into the project.  Sometimes I do that for a reason though, and what I really need to do is just be STILL for a minute
 and ask myself a few questions. 
 Why am I avoiding this?  
I think the answer was that I really liked the chair and I wanted it professionally recovered but I just can't do it now. 
 I didn't want to attempt it myself and screw it up. 
 Soooooo, long story short, I slipcovered it! 
 It is a good quick fix for now.
Here is the Before:
The chair is really a pretty Bergere with a fabulous back and the fabric on it is a silk Buffalo plaid.
I took the seat cushion off thinking that I would recover the seat separately from the rest of the chair.  I nixed that idea when I realized I might be in too deep.  I made a pattern by tracing onto paper and did the same thing for the back and front.
I pinned the front and back together to fit perfectly before I sewed it.  
I tested it on the chair.  Looks good.
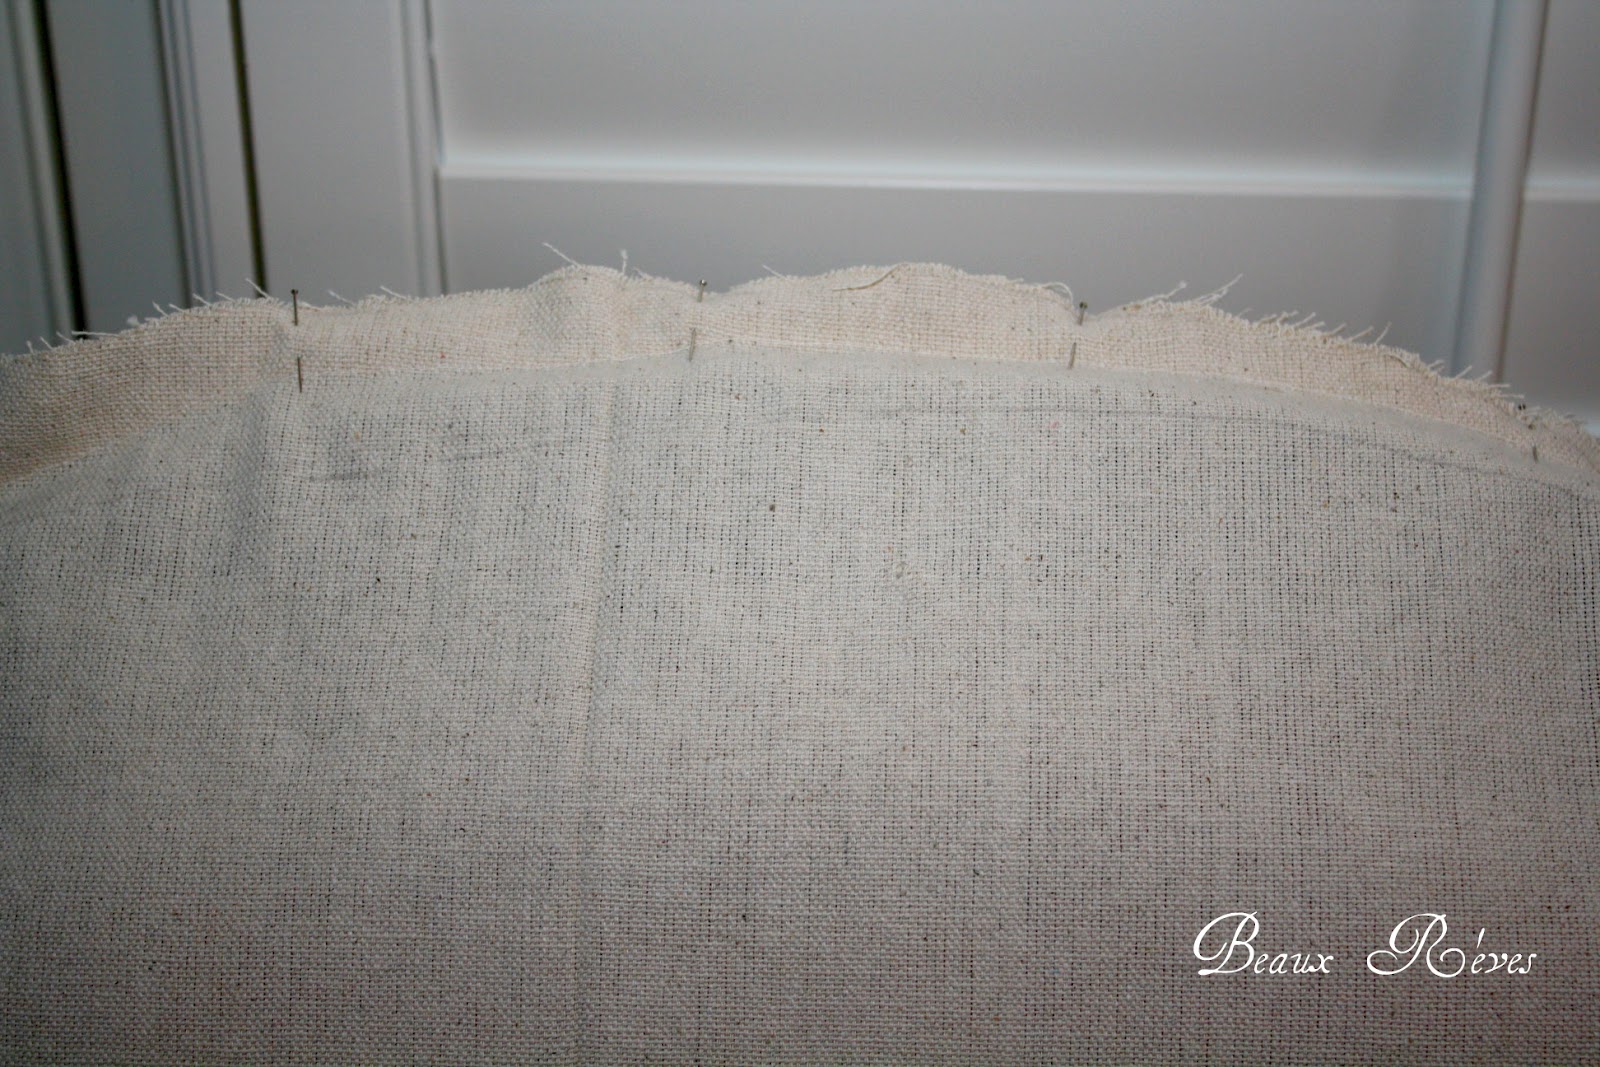
Turned it back inside out and pinned the ruffle on that I made out of the finished edge of the dropcloth.
Here is is all inside out and almost finished.
I finised her up by adding arm covers with ties and ties onto the back of the chair.  It came out much nicer than I expected and now I can have two different looks with one chair!

Now I'm thinking of making slipcovers for my dining room chairs...  I have enough dropcloth left to slipcover Buckingham Palace!

Until Next Time,
Beaux R'eves
XO Cindy

Sharing with these lovely Blogs:
Newbie Party at Debbie Doo’s Blogging & Blabbing
Susan at Between Naps on the Porch for Metamorphosis Monday
Marty at
A Stroll Thru Life for Tabletop Tuesday

Roeshel  at DIY Showoff
Kristin at My Uncommon Slice of Suburbia for Tuesday's Treasures
Linda at
Coastal Charm for Nifty Thrifty Tuesday

Faded Charm for White Wednesday
Kim at
Savvy Southern Style for Wow Us Wednesdays
Judy at
DIY by Design for the Winter Blues Party
The Brambleberry Cottage
Gina at
The Shabby Creek Cottage for Transformation Thursdays
Sherry at
No Minimalist Here for the Open House Party on Thursdays
 From My Front Porch To Yours for Treasure Hunt Thursday
 Cindy at My Romantic Home for Show and Tell Friday
Courtney at
French Country Cottage for Feathered Nest Friday
Honey at
2805 for Potpourri Friday
Heather and Vanessa at
At the Picket Fence for Inspiration Friday
Diann at
The Thrifty Groove for Thrifty Things Friday
Debra at
Common Ground for Vintage Inspiration Friday
Sherry at
The Charm of Home for Home Sweet Home Friday
Jen at
Tatertots and Jello for the Weekend Wrap-up Party
Donna at
Funky Junk Interiors for Saturday Nite Special

The Tablescaper: Seasonal Sunday