I really struggled with recovering this chair.
Not because it was difficult, but because I procrastinated and waited until the last minute to dive into the project. Sometimes I do that for a reason though, and what I really need to do is just be STILL for a minute
and ask myself a few questions.
Why am I avoiding this?
I think the answer was that I really liked the chair and I wanted it professionally recovered but I just can't do it now.
I didn't want to attempt it myself and screw it up.
Soooooo, long story short, I slipcovered it!
It is a good quick fix for now.

Here is the Before:

The chair is really a pretty Bergere with a fabulous back and the fabric on it is a silk Buffalo plaid.

I took the seat cushion off thinking that I would recover the seat separately from the rest of the chair. I nixed that idea when I realized I might be in too deep. I made a pattern by tracing onto paper and did the same thing for the back and front.
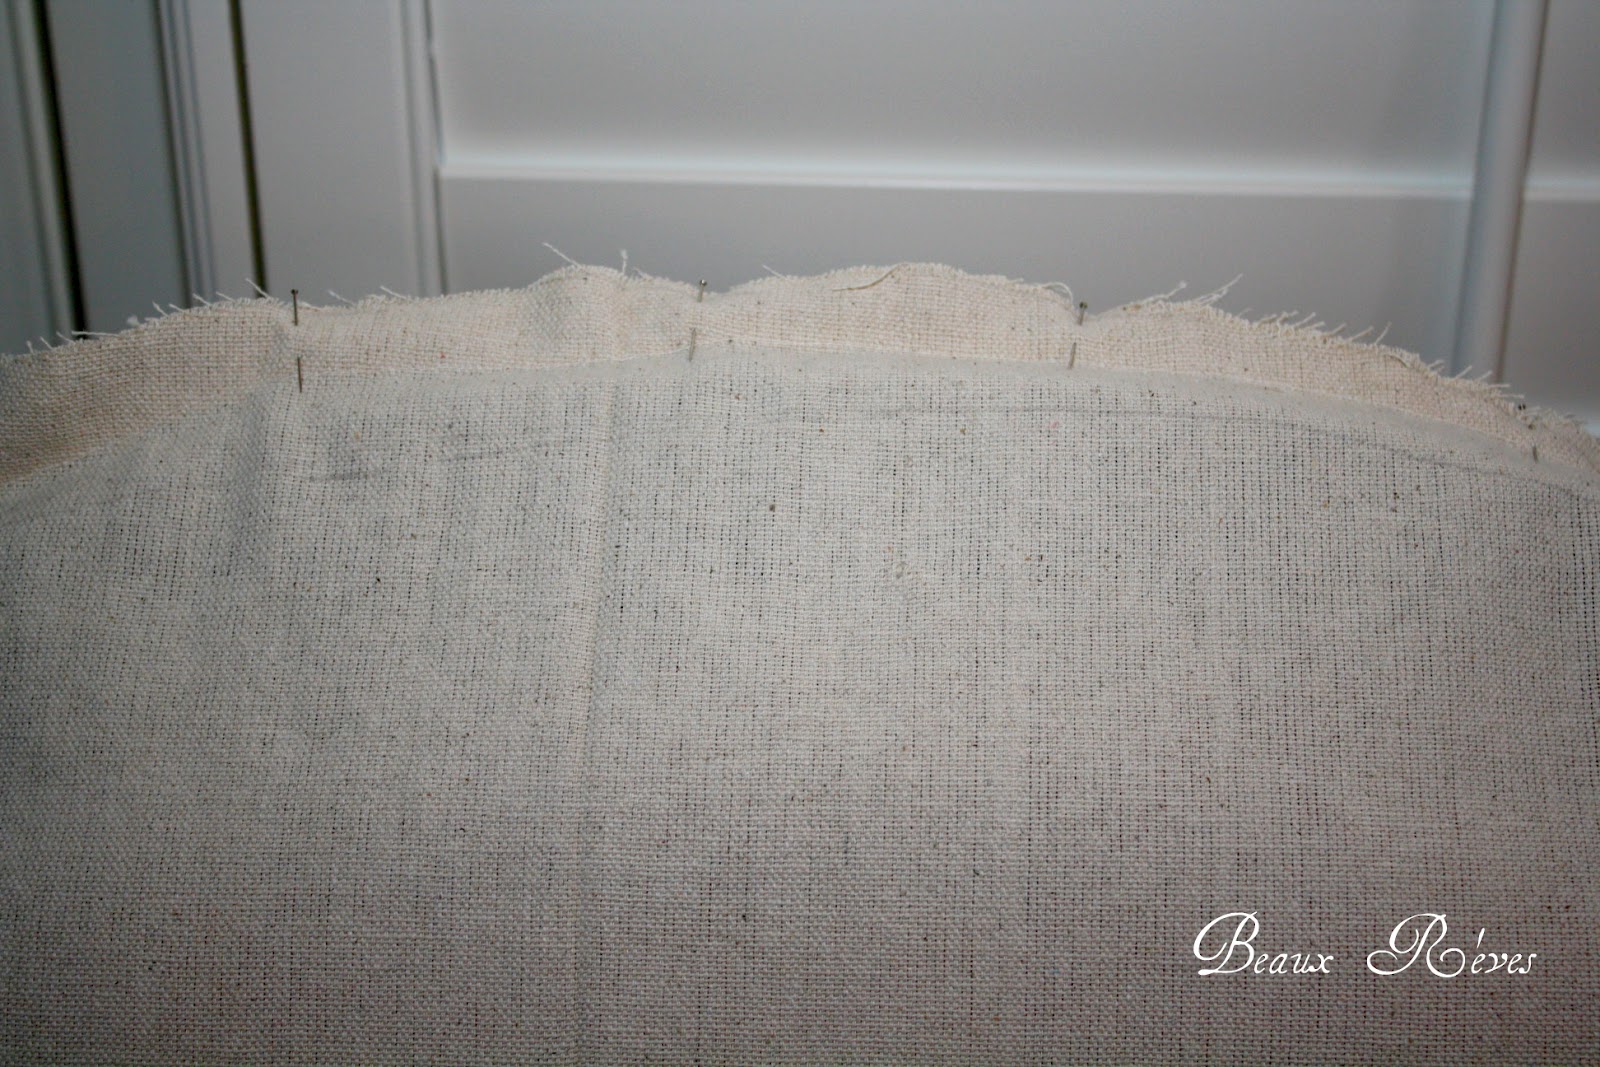
I pinned the front and back together to fit perfectly before I sewed it.

I tested it on the chair. Looks good.

Turned it back inside out and pinned the ruffle on that I made out of the finished edge of the dropcloth.

Here is is all inside out and almost finished.
I finised her up by adding arm covers with ties and ties onto the back of the chair. It came out much nicer than I expected and now I can have two different looks with one chair!
Now I'm thinking of making slipcovers for my dining room chairs... I have enough dropcloth left to slipcover Buckingham Palace!
Until Next Time,
Beaux R'eves
XO Cindy
Sharing with these lovely Blogs:
Newbie Party at Debbie Doo’s Blogging & Blabbing
Susan at Between Naps on the Porch for Metamorphosis Monday
Marty at A Stroll Thru Life for Tabletop Tuesday
Newbie Party at Debbie Doo’s Blogging & Blabbing
Susan at Between Naps on the Porch for Metamorphosis Monday
Marty at A Stroll Thru Life for Tabletop Tuesday
Roeshel at DIY Showoff
Kristin at My Uncommon Slice of Suburbia for Tuesday's Treasures
Linda at Coastal Charm for Nifty Thrifty Tuesday
Faded Charm for White Wednesday
Kim at Savvy Southern Style for Wow Us Wednesdays
Judy at DIY by Design for the Winter Blues Party
Linda at Coastal Charm for Nifty Thrifty Tuesday
Faded Charm for White Wednesday
Kim at Savvy Southern Style for Wow Us Wednesdays
Judy at DIY by Design for the Winter Blues Party
The Brambleberry Cottage
Gina at The Shabby Creek Cottage for Transformation Thursdays
Sherry at No Minimalist Here for the Open House Party on Thursdays
Gina at The Shabby Creek Cottage for Transformation Thursdays
Sherry at No Minimalist Here for the Open House Party on Thursdays
From My Front Porch To Yours for Treasure Hunt Thursday
Cindy at My Romantic Home for Show and Tell Friday
Courtney at French Country Cottage for Feathered Nest Friday
Honey at 2805 for Potpourri Friday
Heather and Vanessa at At the Picket Fence for Inspiration Friday
Diann at The Thrifty Groove for Thrifty Things Friday
Debra at Common Ground for Vintage Inspiration Friday
Sherry at The Charm of Home for Home Sweet Home Friday
Jen at Tatertots and Jello for the Weekend Wrap-up Party
Donna at Funky Junk Interiors for Saturday Nite Special
The Tablescaper: Seasonal Sunday
What a beauty! Who cares if you slipcovered her. She's gorgeous!
ReplyDeleteJeanine
Lol. You are right about a dropcloth going on forever. I've done tons of projects out of two. I'm going to try making a slipcover for a chair for the first time myself. As soon as I stop putting it off, that is. ~ Maureen
ReplyDeleteYou did a great job! I've got a wing-back chair in the corner of my bedroom that needs a slipcover desperately! My mom gave it to me and on the way home with it, my husband lost it in the highway :) It has a terrible case of road rash - lol!
ReplyDeleteMaybe one day, I'll get brave enough to make a slip cover:)
The slipcover looks fabulous! I sew, but slipcovers are one thing that intimidate me! You did a wonderful job! :)
ReplyDeleteBeautiful, Cindy! You sound so much like me...always afraid I will mess up! But you didn't! Yay!
ReplyDeleteI bought drop cloth for a project awhile back and I, too, have TONS of it! What was I thinking?!
XO,
Jane
Perfect solution for this great chair! I love the slipcover option because it gives you choices!
ReplyDeletedee dee
You did an amazing Job, I once made a slipcover 14 years ago. Never again. I love how your turned out it goes perfectly with te room. It's a great idea to slipcover, If you know deep down yo love the chair.
ReplyDeleteI love your sweet slipcovered char. It's perfect.
ReplyDeletehugs
Sissie
What a truly perfect solution - you fixed both dilemmas and now have the perfect look for that space.
ReplyDeleteIt looks great there, what a nice change!
Well done!
Cindy the slipcover looks fabulous!!
ReplyDeleteFabulous chair! Love how this turned out! xoxo, tracie
ReplyDeleteFabulous chair! Love how this turned out! xoxo, tracie
ReplyDeleteI am so impressed--I don't think a professional recover could look any better. It looks fantastic!
ReplyDeleteIt looks beautiful! This was the perfect solution! Very, very pretty!
ReplyDeleteThis turned out wonderful! I did a Bergere chair a couple of years ago, yours looks much nicer! thanks for linking up to the party!!
ReplyDeleteThe chair looks gorgeous! I tried to slipcover a chair once, and afterwards my husband made me promise I'd never attempt such a thing again. Let's just say mine did NOT turn out like yours.
ReplyDeleteI love your solution. That silk plaid is still great looking!
ReplyDelete-Revi
I think you can call it done. It's perfect. Nice job.
ReplyDeleteJanet
The slipcover was a perfect solution and it looks so pretty! You did an excellent job!
ReplyDeleteFabulous idea! I have two chairs similar to these and have thought about eventually recovering them.
ReplyDeleteHi,
ReplyDeleteI love that you slip covered it-it looks a 100% BETTER!!!! Great job!!
Love the slip covering!!!!!!!! Great job!!
ReplyDeleteHi,
ReplyDeleteI love that you slip covered it-it looks a 100% BETTER!!!! Great job!!
This was such a clever idea. Looks fantastic!
ReplyDeleteJust found this part of your blog on Pinterest!! What a fabulous job!! And exactly what I want to do for a chair of mine. You gave great direction and I feel like I can do a great job from the information given. However I am just a little stumped when it came to the sides where the arm meets the seat. I just can't see it in my head, how did you do that with the ruffle?? Cause now, I really want a ruffle on my chair too!! :) Could you possibly show a picture? I learn so much better from a visual perspective!! Thanks so much!
ReplyDelete